Lots of people are doing a broadway camp this summer! We thought we'd give you some craft ideas.
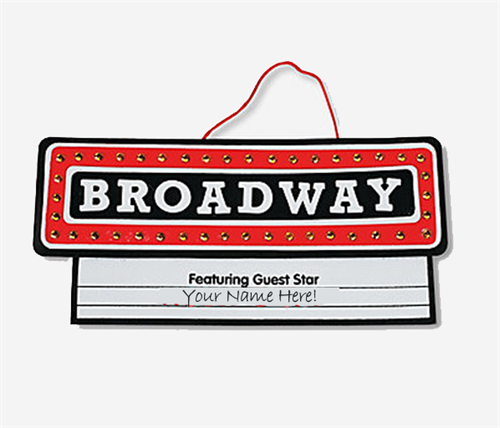
Make a Marquee Door Sign
Materials:
- Paper
- Markers
- Glue
- Scissors
- Colored Foam Sheets (or Construction Paper)
- A Strong Wire, Cord, Rope, or Unwound Hanger
- Jewels, Rhinestones, or Other Decoration
Optional Foam Letters
Instructions:
STEP 1: Cut out a large foam piece (or construction paper piece) to be the top part of the marquee.
STEP 2: Cut out a smaller foam piece (or construction paper piece) to be the lower part of the marquee.
STEP 3: Glue the lower part of the marquee to the upper part.
STEP 4: Using paper, markers, foam, jewels, and any other supplies you have, decorate the marquee writing Broadway on the top and the child’s name on the lower part.
STEP 5: Once this has dried, glue the strong wire, cord, rope, or unwound hanger to the back of the upper portion of the marquee. After it has dried, the Broadway Marquee sign is ready to hang on a door knob, wall, or elsewhere!
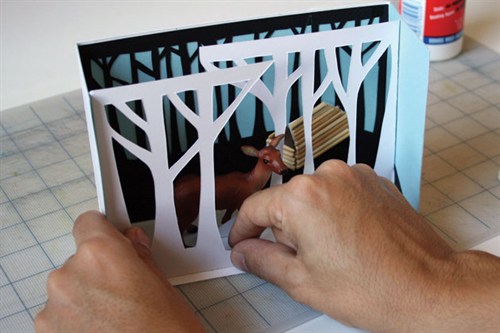
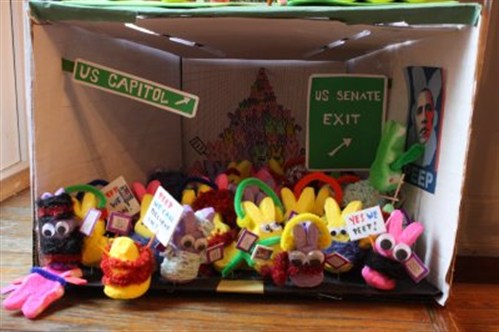
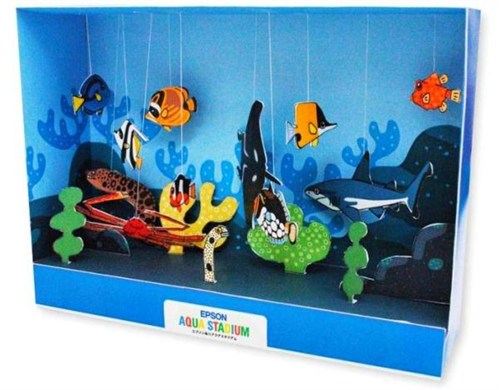
Build a Show Diorama
Materials:
One shoe box per child
A multitude of other supplies that are your choice! Here are some suggestions: Cotton balls, construction paper, markers, paper, popsicle sticks, glue, tape, string, yarn, figurines, foam letters, googly eyes, toothpicks, fabric, foam sheets, paint, tinsel, clay, scissors, and anything else you would like.
The night before you do this craft, encourage the students to bring any material they would like to use for their diorama.
Instructions:
STEP 1: Assemble the shoe boxes as pictured. It is generally a good idea to glue it down as you start to avoid knocking your creation over, though you may elect to wait until you have decorated the background of your “theater.”

STEP 2: Begin by gluing paper, foam, and whatever else you would like the backdrop of your “theater show” to be. You can choose to create the stage for an imaginary/new show or you may choose to create the set for a current Broadway Musical.
STEP 3: Design the interior for your stage using whatever materials you desire.
STEP 4: Design the actors and actresses using whatever materials you desire to “perform” inside of your diorama.
STEP 5: Enjoy your beautiful stage diorama.
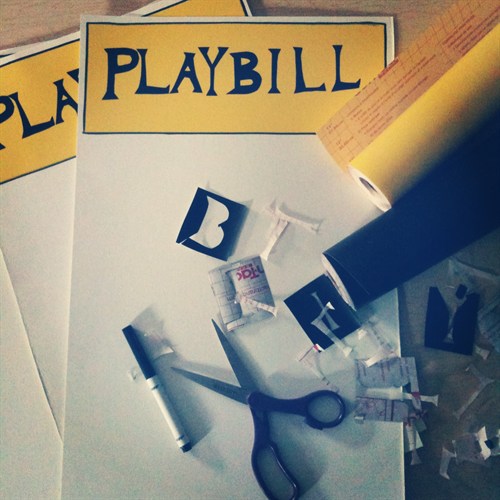
Create Your Own Playbill
Materials:
- Paper
- Markers
- Crayons
- Glue
- Scissors
Instructions:
STEP 1: Stack two to three pages of paper. Fold the paper “hamburger style.” Lay the folded paper on the surface which you will be working on. Have the loose paper edges facing right and the folded edge facing left.
STEP 2: Campers then begin designing the Playbill. Start by coming up with the name of your show. Across the top right the word “Playbill” as used on any real Playbills. Underneath write the name of the theater (or imaginary theater) in which the show will take place.
STEP 3: Design a “show detail” page. This page lists the title of the show, writer, producers and actors. Under it list the musical numbers and/or scenes and who performs in each scene.
STEP 4: Create a cast bio page. You can draw pictures of the cast and create imaginary or real bios.
STEP 5: Create an imaginary advertisement for another Broadway show or product. Have as much fun as you would like and use your imagination to make it as different as possible.
STEP 6: Decorate the Playbill in any fashion you like. Share with friends and family!